1. Quota Set Search
- To view quota set info, navigate to Quota -> Search -> select any quota set name.

- A new dialog box will appear for user to view the quota set info.
- User can click at the “View Summary” button to view the summary report.
- User can update quota set and cancel active quota set.


- A new dialog box will appear for user to update quota set.
- Click on “Update Quota Set”

- A new dialog box will appear for user to cancel active quota set.
- Click on “Cancel Quota Set”.

2. Active Quota Sets
- To view active quota sets, navigate to Quota -> Active.
- In this page, user can view quota sets which are currently active and to view the details click on the quota itself.

- Once clicked, a new dialog box will appear for the user to view the quota info.

- The user can view summary by clicking on the "View Summary" button and also update or cancel the quota by clicking on "Update Quota Set" or "Cancel Active Quota Set".
3. Create New Quota
- To create a new quota set, navigate to Quota -> Created -> click on “Create New Quota Set”.

- A new dialog box will appear for user to add new quota set.
- Fill in all the required fields. User needs to tick any of the tick boxes below Department section.
- Click on “Add” to save the new quota set.

- Once the quota is created, user will be able to view the quota set information.

3. Updated Quota Set
- To view/update quota sets, user has to navigate to Quota -> Updated -> click on intended quota set name.

- A new dialog box will appear for user to view/update the quota set.

- Navigate to Standard Quota Management tab -> click on any intended quota.
- A new dialog box will appear for user to confirm the quota selection. Click on “Confirm” button.


- In Standard Quota Management tab, user needs to fill in all the required information next to Quota Template Info tab. Those information are:
- OPC Bag
- OPC Bulk
- Distributor Code
- Masonry
- Then, click on “Add Quota”.

- Under Add Quotas tab, user has to click on any quota name.

- A new dialog box will appear for user to add the new quota set from template.
- Click on “Add” to add the new quota.

- Click on “Submit Updates for Approval” after done filling in all the required fields.
- User can also cancel quota set update by clicking at “Cancel Quota Set Update”.

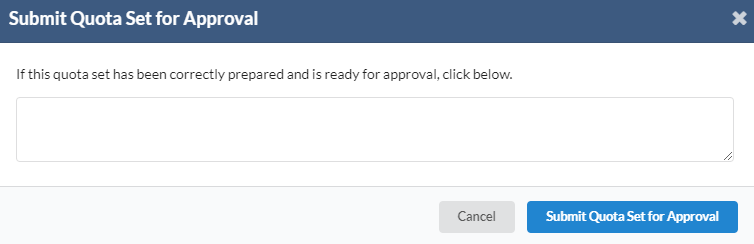
- A new dialog box will appear for user to fill in the description. Then, click “Submit Quota Set for Approval”.
4. Awaiting Approval
- To approve quota set, navigate to Quota -> Awaiting Approval tab -> click on any intended quota set name.
- A new dialog box will appear for user to approve quota set

- Click on “Approve Quota Set” to approve quota or click on “Reject Quota Set” to cancel quota.

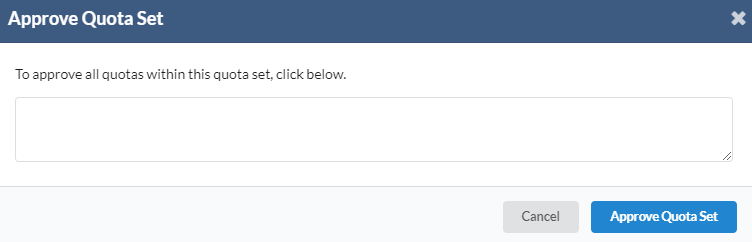
- A new dialog box will appear for user to fill in the description then click “Approve Quota Set”.
5. Reports
- To view the report, navigate to Quota -> Reports tab -> click on “Run Report” button
